 A photo of the laptop I am running my homelab off of
About a year ago I decided to build my own homelab and self-host a bunch of services because I wanted to learn more about Linux, Docker, and homelabbing in general. Today I decided to make a post to share my setup to the world.
I had an old laptop I used to play Minecraft on back in middle school that was just sitting in my closet collecting dust. It has an Intel Core i5-8300H, 8 GB of RAM, a NVIDIA GTX 1050 and 1 TB of SSD storage (with room to install another hard drive and more RAM). I’ve always wanted to do something with it so I decided to make it my homelab. The other benefit of having a laptop as a homelab is that if there is a power outage (fairly rare for Metro Vancouver), I can have a script that gracefully shuts down all my services.
A photo of the laptop I am running my homelab off of
So I flashed Debian 12 onto a USB flash drive and installed it onto the laptop. I could’ve gone with something like Proxmox but due to the limited amount of RAM, I knew I would be better off using Docker containers to run services rather than full-blown virtual machines.
Once Debian was installed, I setup SSH and installed Docker. Now the server was ready to run my services.
The main reason I wanted a homelab was to store files. Google Drive only gives you 15 GB of storage and makes you pay for more, with my laptop homelab, I would get ~1 TB of storage I could use.
After a bit of research, I settled on using Nextcloud. Nextcloud not only has file storage but also calendar support which means my calendar can be synced across devices, without it leaving my own hardware. Nextcloud also has clients for every major platform so I can access my files/calendar from my laptop, PC, and my phone.
At this point, I was just connecting to my homelab over my local network but I wanted to be able to access it when I wasn’t home. I also wanted to make sure that if someone gained access to my home network, they wouldn’t be able to use my services. I needed to secure my homelab so only I (and anyone I authorized) could access it
Enter Tailscale, a mesh VPN service that allows me to expose my services to a VPN that only I can access. Also bonus points for it being a Canadian company.
Tailscale has a cool feature called Services that allows you to expose applications (either over TCP, HTTP, or HTTPS) onto their own URLs. So if
you had a service called myapplication you could have it so the URL myapplication.my-tailnet.ts.net links to the application. Really useful
for giving services their own URLs (also no need to setup a reverse proxy).
I also made sure that my Docker containers were only exposing to ports on the localhost loopback address, so that someone on my local network can’t even access them.
Everybody knows how relible Github can be, not.
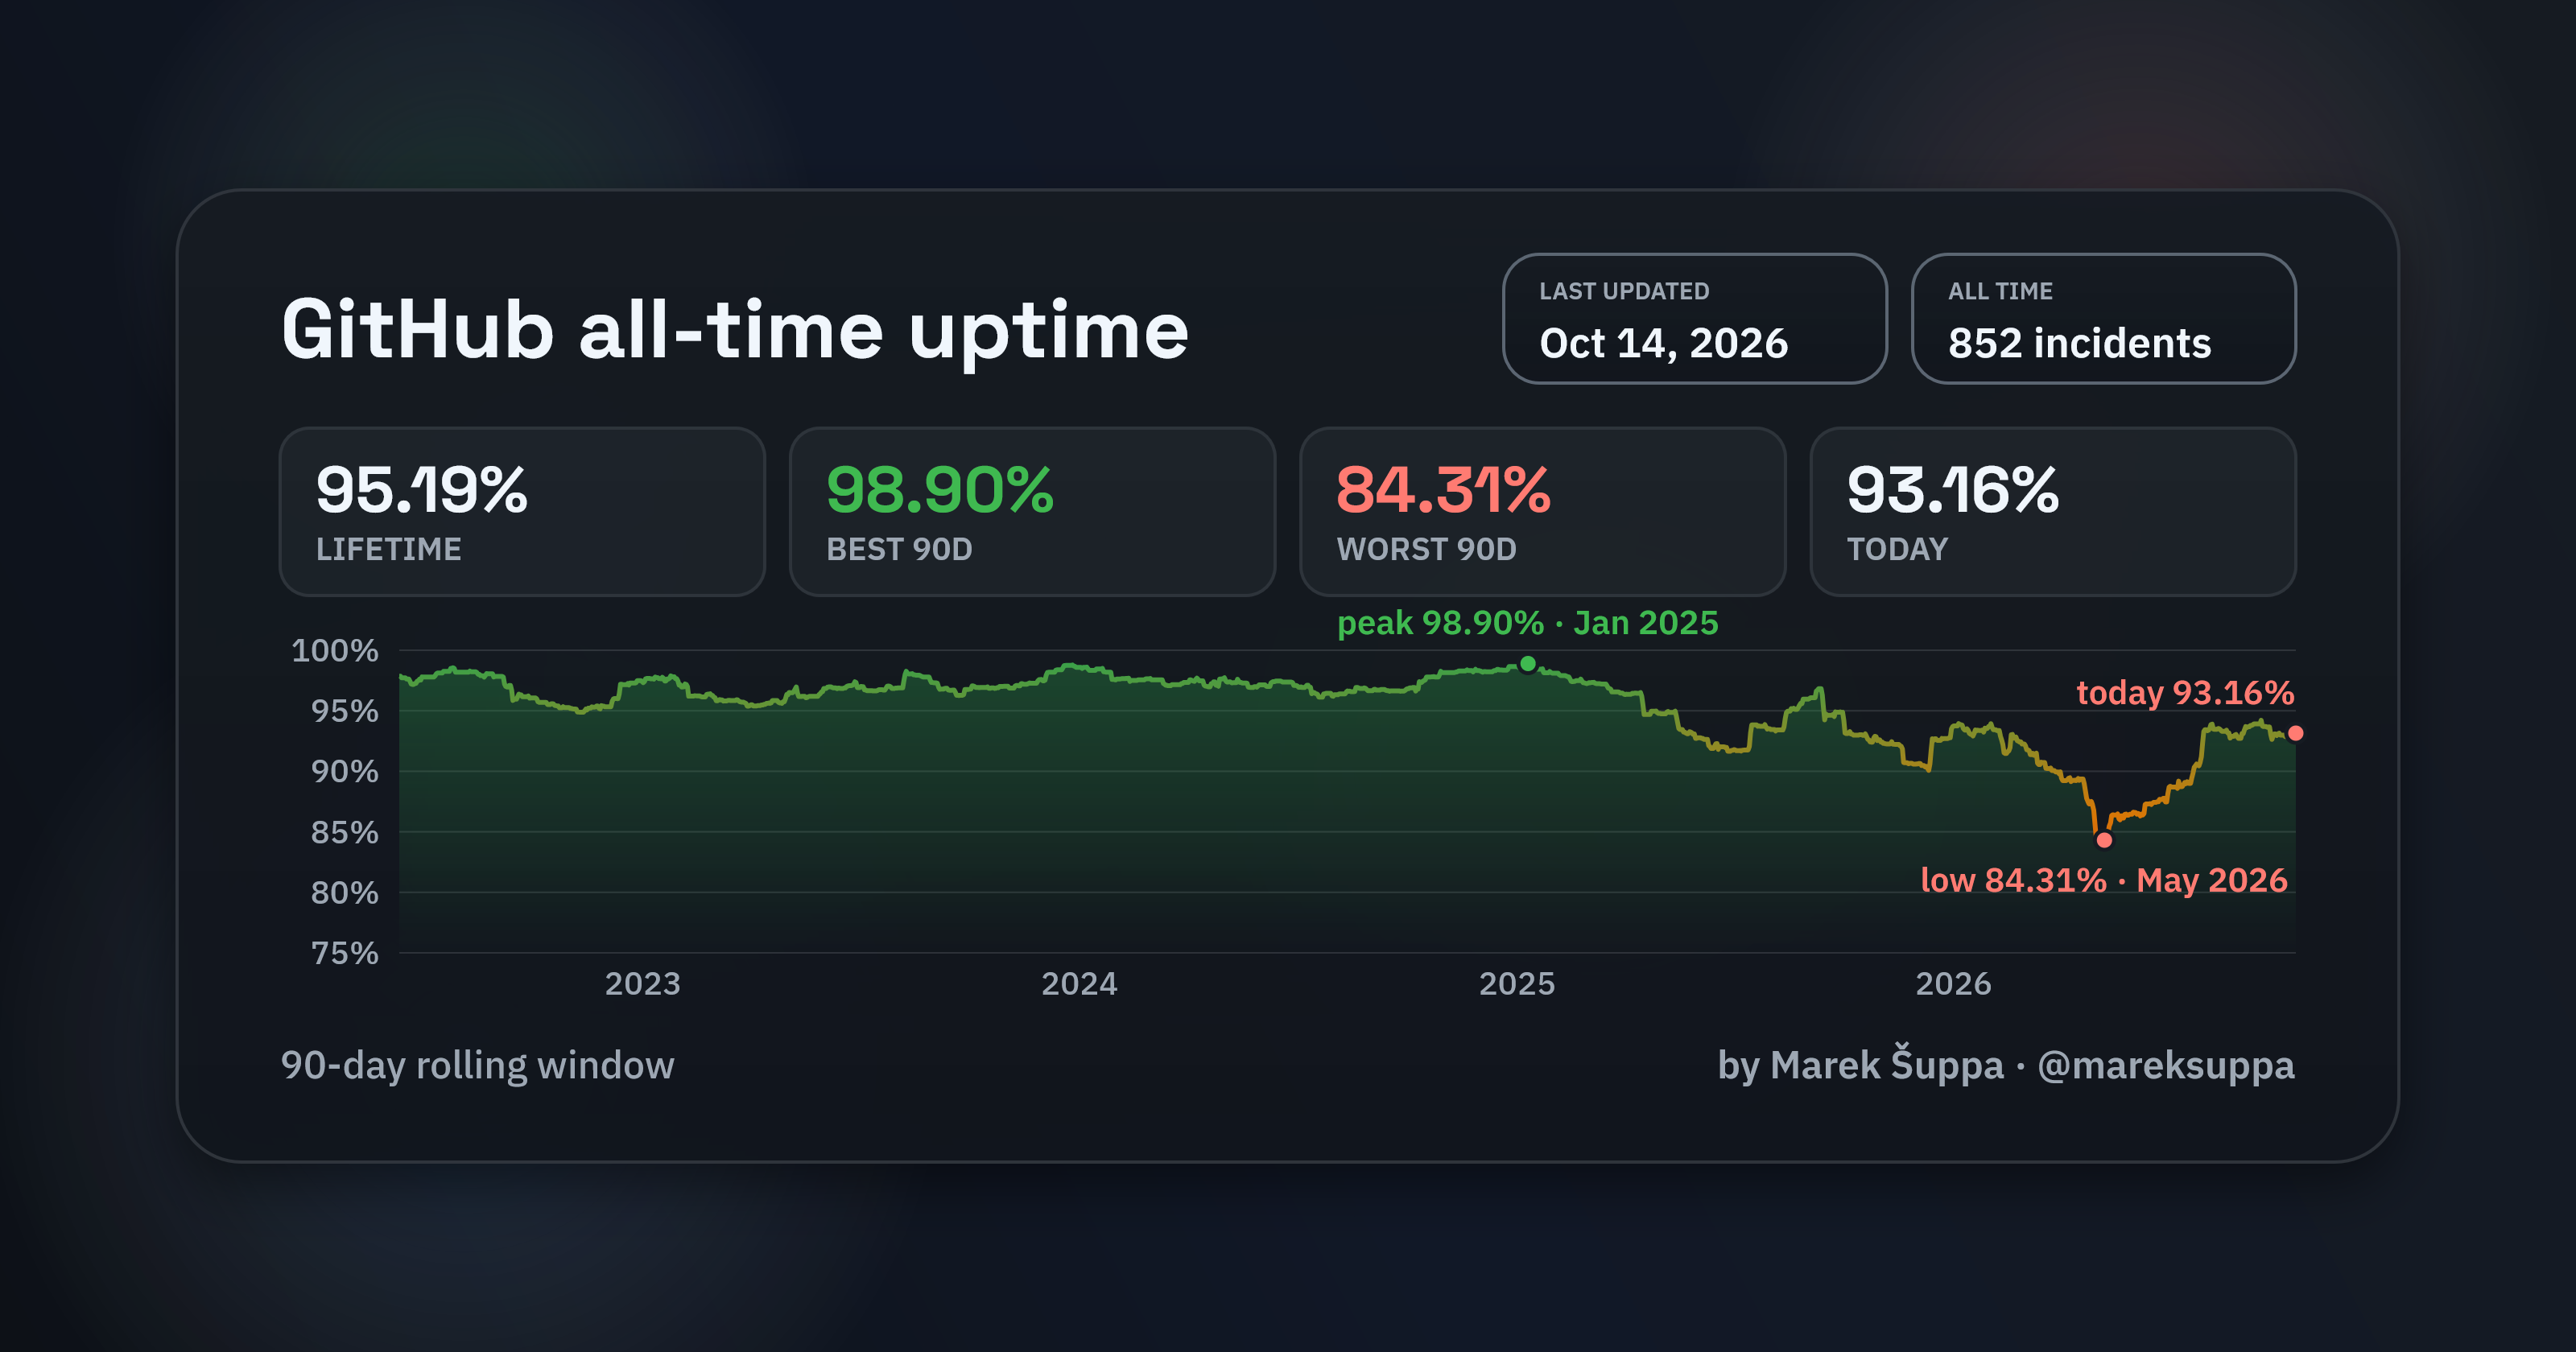
So I wanted to have my own self-hosted Git provider I can use to backup my code. I decided to use Forgejo, an open-source self-hosted Git provider that powers Codeberg. It has all the features that Github has (including actions/workflows) and fits in nicely as a Github replacement.
It also has a feature that automatically pushes your code to Github every so often, so I can still have public repositories if I want to.
I wanted to be able to watch DVDs and Blu-Rays I have ripped onto all my devices, without needing to store those massive video files. I decided to use Jellyfin. It also can use the GPU in my laptop to speed up video encoding/decoding which is a nice bonus.
One other benefit of Tailscale is the ability to set custom DNS servers for every device connected to your Tailscale network. Using this knowledge, I setup a Pi-Hole DNS server that automatically blocks ads for me, without needing to install ad-blockers such as U-Block Origin. I can also have my Pi-Hole use a specific DNS server as it’s parent server (since Pi-Hole doesn’t know every website on the internet) so all my devices use the Cloudflare DNS without needing to manually set it up on each one.
That just about sums up all the services I run on my homelab. If you want to know more about my setup, feel free to send me an email.